In Wire Arc Additive Manufacturing (WAAM), the material is applied to a base plate as a wire using arc welding, weld bead by weld bead. This has several advantages compared to powder-based processes: wire is significantly cheaper as a starting material and most materials are available in wire form. In addition, both the complex powder handling and the vacuum technology can be dispensed with. However, the biggest advantage is the very high build-up rate that can be achieved using WAAM. Depending on the material used, this can be up to 650 cm³ pro per hour.
WAAM machines with large installation space
The Berlin-based company GEFERTEC develops and builds machines that use the WAAM process for the 3D printing of metals. The arc machines, which are available as 3-axis and 5-axis versions in different sizes, integrate sophisticated arc welding technology, user-friendly CAM software and a machine tool to create a ready-to-use additive manufacturing solution. In the currently largest expansion stage with an installation space of 8 m³, components weighing up to 8000 kg can be manufactured. Specially developed CAM software uses the CAD data of the workpiece to generate the data that the CNC control uses to precisely position the welding head.
The machine then produces the near-net-shape workpiece fully automatically. After the 3D printing process, the surface of the component is completely or partially machined, depending on the requirements of the application.
Control temperature in the process
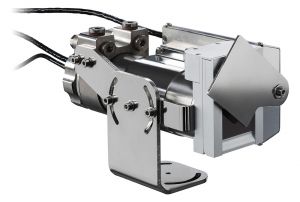
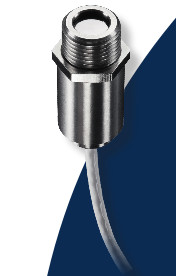
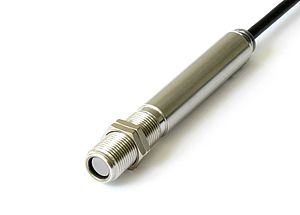
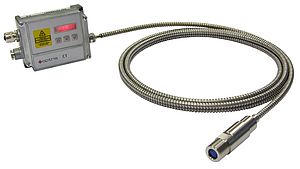
Temperatures play an important role in the WAAM process. This is because the temperature distribution in the workpiece and the cooling behavior are essential to ensure the quality of the finished component. "During machine operation, welding is only started when the underlying layer has cooled down to a certain temperature," explains Martin Lange, product development employee at GEFERTEC. If the intermediate layer is still too warm, this leads to uneven build-up behavior - the layer thickness would vary too much and the geometry of the component would not be maintained. The corresponding temperature measurement technology is solved in the machine with a pyrometer. After completing a layer, the welding head moves to the starting point of the next layer, where the pyrometer measures the temperature of the component. And only when this has dropped to the preset value does the machine continue working. "In most applications, we set a value of 150 °C to 200 °C for the intermediate layer temperature," says the development engineer: "This is ideal for the reproducibility of the weld seam height." Pyrometers from the CT series from Optris are to be used in the arc machines that GEFERTEC will supply in future. These have a compact measuring head that can be easily integrated into the machine. The separate electronics box, which is located in the control cabinet, has various outputs through which the value is transferred to the machine's control system. In this way, the interlayer temperature is set perfectly to the right value during operation.
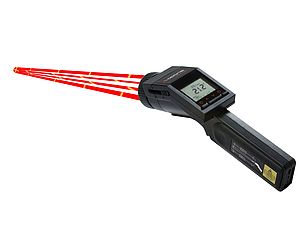
In order to determine the temperature accurately with a pyrometer, the emissivity must be known exactly. A falsification of the measurement can also occur if the view of the measuring surface is not unobstructed. "With our arc machines, we can also print components made of titanium, although the development of a lot of smoke cannot be avoided," says M. Lange, explaining the problem. In this case, the use of ratio pyrometers, such as those from the CTratio series from Optris, is recommended. As the ratio of the intensities at two wavelengths is formed here, the measurement can be carried out reliably despite disturbed vision. "This is why we will probably use the CTratio series pyrometers in machines in the future if the user wants to use them to print titanium components," says M. Lange.
Infrared cameras in development
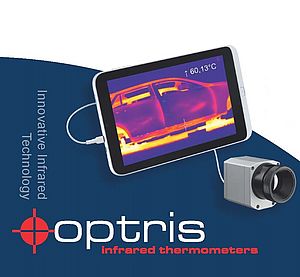
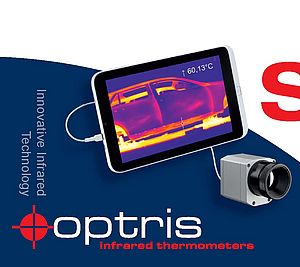
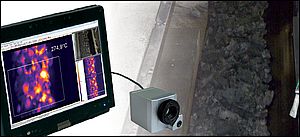
Infrared cameras are also used in the development of the arc machines and especially in the qualification of the processes. "In the context of our investigations, it is advantageous to be able to record an overall image and thus obtain a spatial distribution of the temperatures," explains Martin Wolter, who works as a welding engineer in process development at GEFERTEC. This makes it possible to examine temperature distributions and cooling processes, which are required for the qualification of the processes. The use of a Spotfinder infrared camera such as the Xi 400 from Optris is particularly helpful here. This has an optical resolution of 382 x 288 pixels.
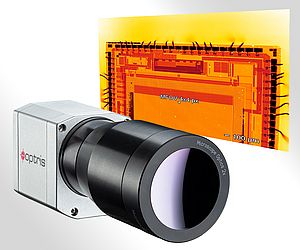
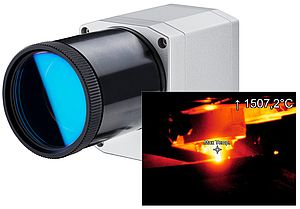
"As the spectral range used in the current infrared camera is not optimal for use on metal surfaces, we only get a qualitative statement and no real temperatures," M. Wolter emphasizes a small disadvantage of the current infrared camera. In order to determine the actual temperatures in the melt pool and its surroundings, a new infrared camera from Optris, the PI 1ML, which is specially designed for applications with metals, may be used in future. It uses a measuring wavelength in the range of 1 µm; in this spectral range, the emissivity of metals is significantly higher than in the usual spectral range between 8 µm and 14 µm. This enables more accurate and better temperature measurements in this application.
Simple evaluation of the thermographic images
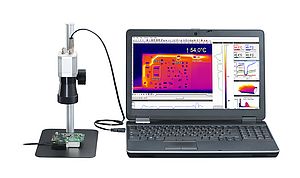
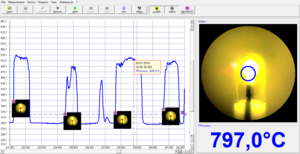
The infrared cameras from Optris can be connected to a PC via a USB interface in order to transfer the recorded images. With the PIX Connect analysis software, which Optris supplies together with the infrared cameras, the thermographic images can be evaluated in real time. The software also makes it easy to archive the images.
