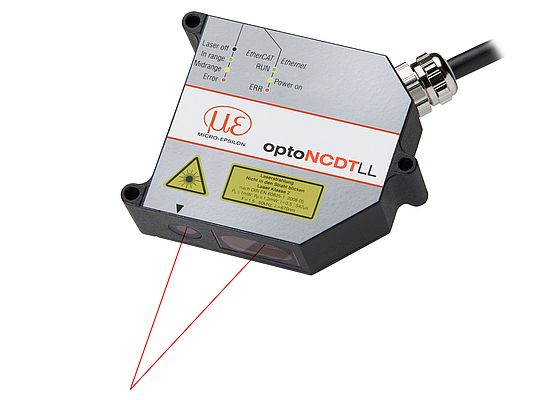
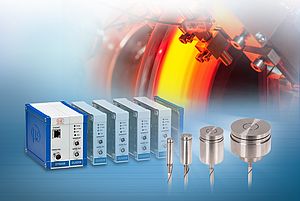
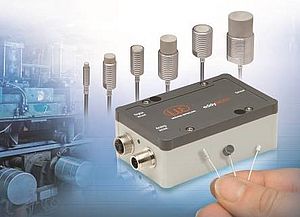
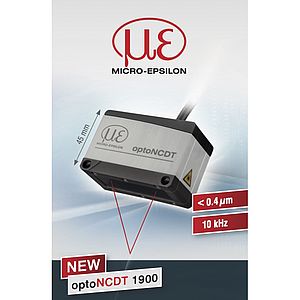
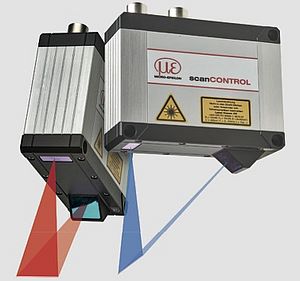
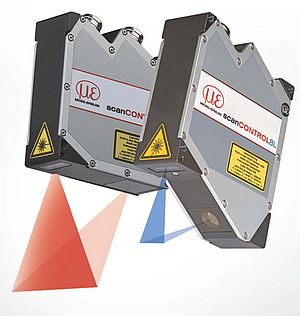
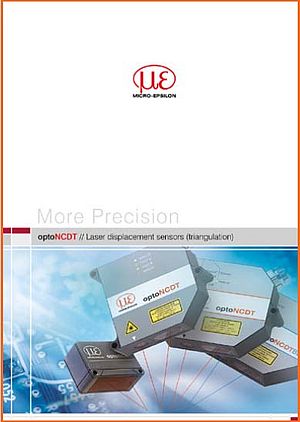
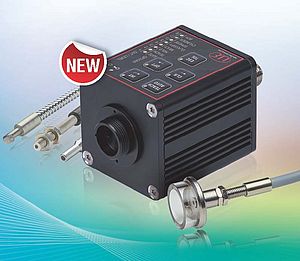
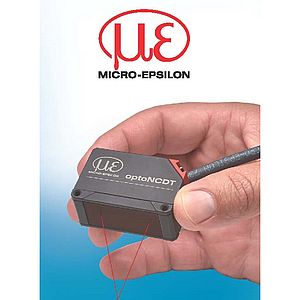
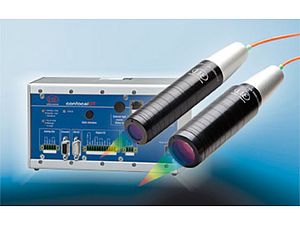
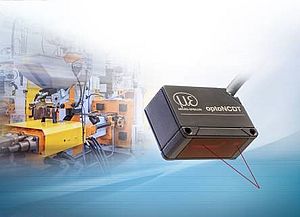
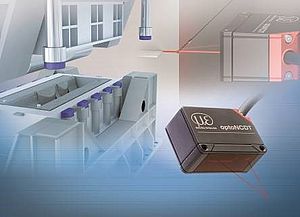
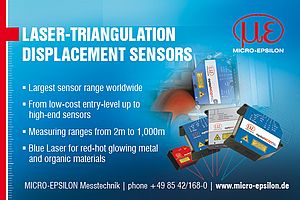
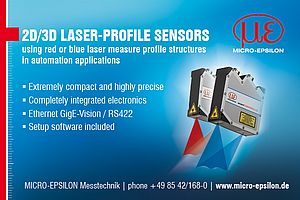
Micro-Epsilon will present several innovations at the trade show in Nuremberg. Coarse surfaces cause interferences for laser points and make displacement measurements on metal more difficult. The new series of high-end optoNCDT 2300 LaserLine (LL) laser sensors circumvents this problem. Special lenses extend the laser point to a short line. A particular algorithm is used to calculate the average value across the length of the line. Any interference is filtered out efficiently, and the distance to the metal can be determined accurately.
For now, the new series includes four models with measuring ranges between 2 and 50mm. The maximum measuring rate is 49.02 kHz (adjustable). The sensor provides a resolution of up to 0.03 µm and a linearity of up to ± 0.6 µm. The new Advanced Realtime Surface Compensation (ARTSC) hardware has been developed based on established RTSC technology. The dynamic range of arrays and precision of real-time surface compensation during the measuring process have been improved compared to previous models. The sensor with its integrated controller has a compact footprint of just 80 x 75 mm. Data output is via Ethernet, EtherCAT, or RS422. Easy sensor configuration via the web interface. The new laser sensor is best suited for measurements of shiny metal and coarse surfaces.
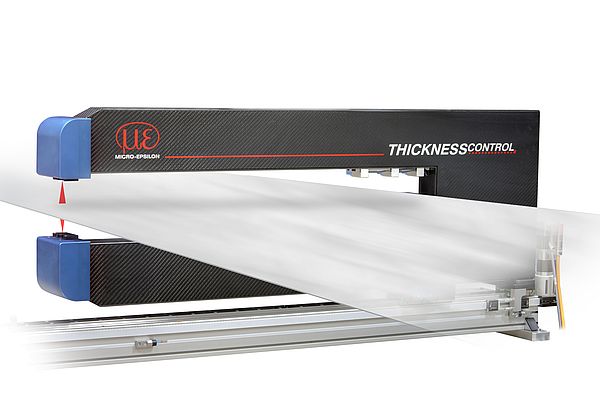
Industrial CFC thickness measurement system
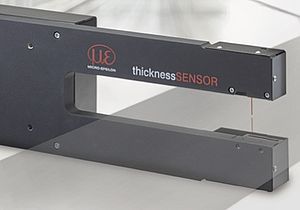
thicknessCONTROL MTS 8202.LLT (CFC) measures strip and board thickness of 50mm and more. The carbon reinforced plastic design (CFC) results in a wide bandwidth of applications: When compared to the metal version, the maximum bandwidth has been tripled from 500 to 1500mm. The laser profile sensors for thickness measurements are located at the tips of the C-frame. The robust construction ensures exact measurement results in the micrometre range. Laser profile sensors use a measurement line which offers significant benefits for tilted and rippled metal strips in comparison to point-type lasers that cannot recognize tilts. In contrast to radiometric systems and isotope analysis, the laser line provides high spatial resolution right up to the edge. For the first time, individual areas behind cut-to-length shears can be measured due to the smaller measuring point. In addition, measurements can be carried out on the strip surface, regardless of alloys.
The integrated calibration technology verifies system precision within seconds - fully-automated and in cycles without operator input. So now nothing stands in the way of regular gauge capability analysis. Air blow nozzles help to protect the lenses from dirt in industrial environments.
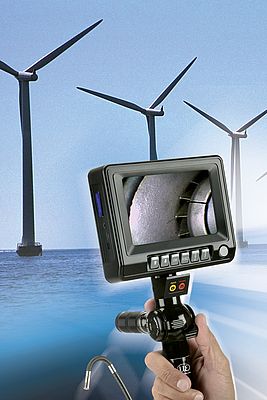
Video endoscope provide insight to the interior of large gear units
With video endoscopy, gear units no longer need to be disassembled for system maintenance. The Top-Line endoscope provides working probes with diameters of 4, 6 or 8 mm, each with a 4x130° probe tip articulation and a large field of view. Thanks to the new image sensor and increased monitor resolution highly accurate images can be displayed in brilliant colours or stored on SD cards as pictures or video clips. Working lengths from 1.5 to 6 m with a focal range of up to 50 mm are available. An integrated glass fibre bundle provides highly efficient illumination of the inspection site. A high-performance light source powered by a rechargeable battery or an adjustable xenon light source may be used for inspections. A language switch feature, zoom and memory functions for images and videos are integrated into the handle. Buttons may be operated using one hand to simplify operation in difficult environments.
Delivery includes a complete set in a robust aluminium case with charger, LED light source, spare rechargeable battery and 90° mirror head. Inspection of weld seams and large gear units and the detection of cavities and voids in cast components are just some of a large number of applications for this video endoscope.
