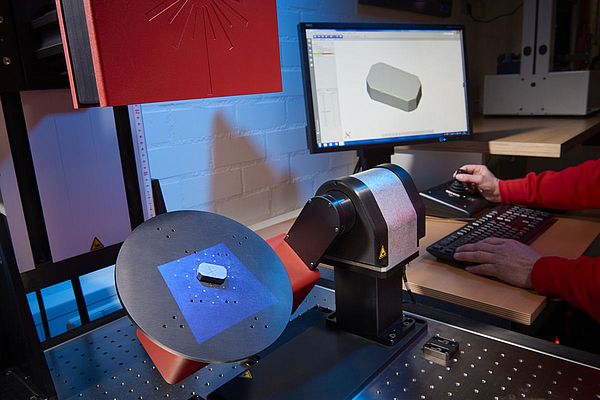
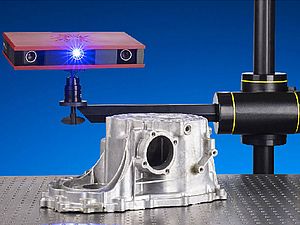
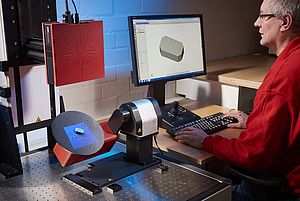
Goudsmit Magnetic Supplies recently acquired an optical 3D scanner. By laying the image scanned in the GOM Atos over the CAD file the company can see at a glance where modifications are required to moulds or other tools.
Not only clearer but also more precise
A colour presentation, labels and cross-sections reveal any deficiencies on the scan. These images are not only clearer (much better than long tables of figures) but also more precise, because information is provided about the entire product.
Pieced together virtually
Moreover, any fitting problems can be detected before assembly and mass production, seeing as how the products under development can be pieced together virtually, in the software.


