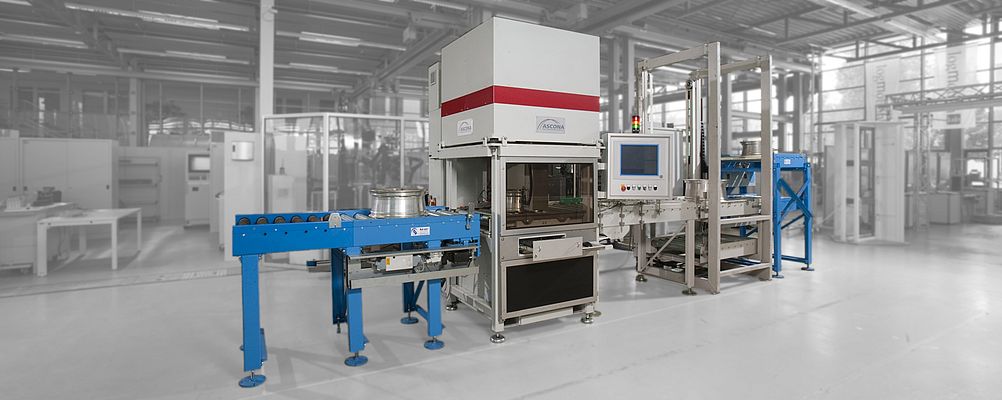
Even the minutest deviations are detected: Researchers at the Fraunhofer Institute for Factory Operation and Automation IFF have created the "Wheelinspector", an in-line compatible system for 100 percent inspection of vehicle wheels without contact. "The system makes fully optical, non-contact measurement of light-alloy wheels directly in the production process possible for the first time," explains Ralf Warnemünde, Deputy Manager of the Measurement and Testing Technology Business Unit at the Fraunhofer IFF. "Immediately after they have been machined, that is, turned, milled and drilled, the new 3D laser technology compares real finished products with their digital model. It scans a multitude of geometric parameters and, with a cycle time of twenty seconds to inspect one wheel, can be integrated fully in the production flow." The measurement system does more than just assure quality: A manufacturing unit can respond to deviations from process parameters without delay and thus organize production processes far more cost effectively.
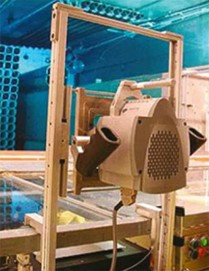
The "Wheelinspector" measurement system consists of four sensors and a complex system of axes for moving and positioning the sensors during measurement. This guarantees high flexibility; the system can inspect a wide variety of products in the same machine - even when regularly switching between different types of wheels.
Quality Control in the Manufacturing Cycle
New development by Fraunhofer Institute for Factory Operation and Automation IFF
- May 28, 2013
- 358 views


