A manufacturer of thin-film solar power modules is using non-contact measurement systems from Micro-Epsilon in order to inspect the quality of solar glass panels. The measurement system has helped to reduce the cost of processing defective parts.
Thin-film technology is the manufacturing technology used to produce thin solar cells, which are deposited directly onto a low cost carrier material, typically glass, metal foil or plastic film. The advantages of using thin-film technology are the material and energy savings made during the production process, good conductivity and the ability to produce large area solar cells.
At Schott Solar Thin Film Gmbh based in Jena, Germany, glass panes are delivered with a conductive layer (electrode). In order to optimise the production yield of the thin-film solar cells, all incoming glass panes are measured and inspected on delivery. Here, one of the most important criteria is the evenness or flatness of the glass panes. This must be accurate to a just few millimetres across the complete surface of the glass, which means they need to be measured to an accuracy/repeatability of hundredths of a millimetre.
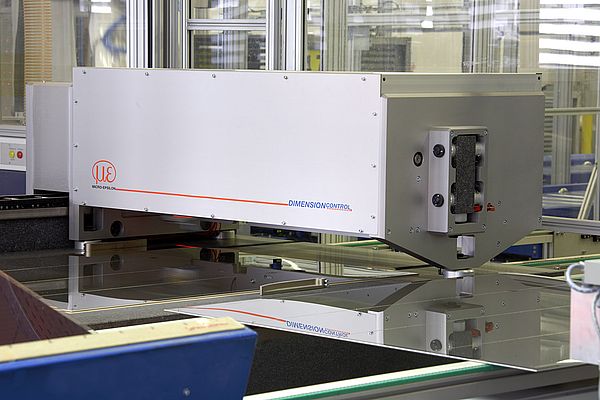
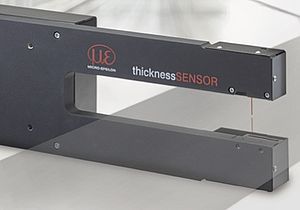
Other inspection criteria are thickness, length, width and squareness of the glass. The edge must also be inspected for cracks, shell defects or breakouts. At Schott, the QA station used comprises several stages. Loading is carried out by a robot, which places the glass panes onto a conveying unit. Next, the panes are automatically inspected for their length, width, squareness, edge damage, thickness and evenness. These tasks are performed using a measurement system supplied by Micro-Epsilon.
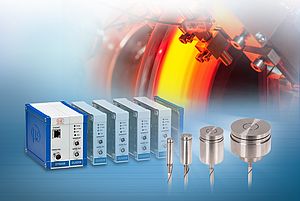
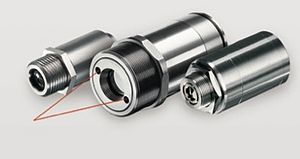
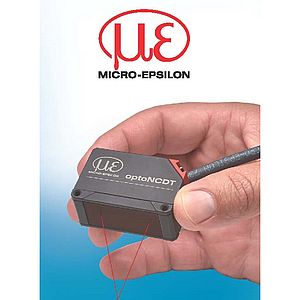
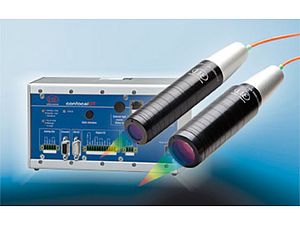
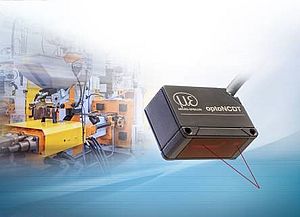
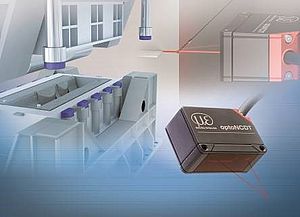
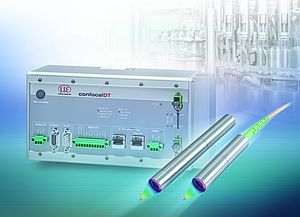
For these inspection tasks, Micro-Epsilon employs two different optical measurement methods: confocal chromatic sensors and the light intersection method. The glass pane, which is lifted onto the conveyor belt by a robot, is placed on a solid block of granite in order to have a defined, flat reference surface. Six optoNCDT 2401 confocal chromatic sensors are positioned on a traversing beam directly above the pane, which measure the thickness and planarity in six planes. In this way, the glass pane can show a target thickness of between 2mm and 4mm.
The required flatness and thickness must be accurate to within millimetres or tenths of a millimetre, which means that the measurements must be precise, down to hundredths of a millimetre. The desired distance or thickness information for the confocal principle is obtained from polychromatic white light. A conventional LED provides the light source. The sensors have a measuring range of 10mm and only measure the thickness from one side.
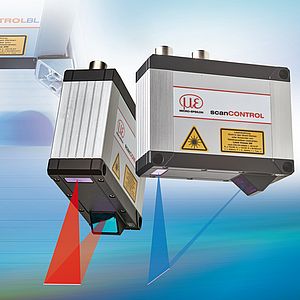
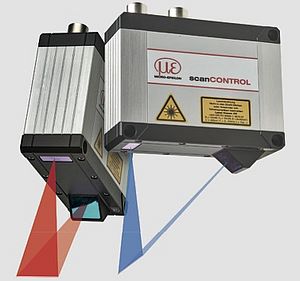
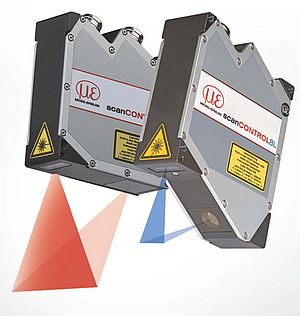
During the traversing process, a Micro-Epsilon scanCONTROL laser scanner circumnavigates the glass pane. Therefore, the edge of the pane is simultaneously inspected for damage and its geometric values (length, width and squareness) measured. A maximum deviation of ± 1mm is permitted for a length of 1,300mm and a width of 1,100mm. For this, a laser line is projected onto the pane and the diffuse reflected light is received by a CMOS matrix. In this way, the surface profile of the edge of the pane can be accurately reproduced. Next, the film resistance and the transmission of the pane are measured. If the pane is defect-free, it is then channeled into the production process by another robot.
Another QA station is located at goods despatch for edge inspection of the flat glass panes refined by the production process. Here, damage to the edge of the pane is inspected. The test rig is an identical design to the system in goods inwards. An optical laser scanner on a traversing beam carries out the quality inspection by circumnavigating the glass pane.
Micro-Epsilon’s measuring system enables rapid, 100 per cent inspection at goods inwards and despatch. The system, which was specially developed for these inspection tasks, reduces the cost of processing defective parts.


